Adding memory is the upgrade that gives the largest improvement for the smallest cost on most computers, and it is well within the ability of anyone willing to be careful for twenty minutes. There are no cables to route, no software to configure and, on a desktop, only one way the part fits.
The mistakes people make are almost all made before the case is opened: buying the wrong generation, buying a stick the machine cannot use, or not checking whether the memory is upgradeable at all. Get the purchase right and the installation is the easy half.
This guide covers how to check what you have, how to work out what to buy, and how to fit it safely.
First: is more RAM actually your problem?
Worth confirming before spending anything.
Open Task Manager with Ctrl + Shift + Esc, go to the Performance tab, and click Memory. Use the computer normally for a while — open your usual applications and browser tabs — then look at the figure.
If memory usage sits near 100 per cent and the machine feels sluggish, more RAM will help substantially. If memory sits at 50 per cent and the disk is at 100 per cent, your problem is storage and an SSD is the upgrade you want instead.
The Performance tab also tells you what you already have: total capacity, speed, form factor, and how many slots are in use versus available. That last figure is what determines whether you can simply add a stick or must replace what is there.
On a Mac, hold Option and choose System Information from the Apple menu, then look at Memory. Note that most modern Macs have memory soldered to the board and cannot be upgraded at all.
Check whether yours can be upgraded
Three possibilities:
Free slots available. The easiest case. Add a matching stick.
All slots occupied. You must remove existing memory and replace it with larger modules.
Soldered memory. Common in thin laptops and all recent Macs. Cannot be changed. The specification sheet or a teardown video for your exact model will tell you.
Check before buying anything. This is where money gets wasted.
Working out what to buy
Four things must match.
Generation. DDR4 and DDR5 are not interchangeable — different notch positions, different pin counts, physically incompatible. Task Manager reports which you have.
Form factor. Desktops use full-size DIMM modules. Laptops and mini PCs use smaller SODIMM modules.
Capacity. Aim for 16GB total for general use. 8GB is a workable minimum. 32GB if you edit video, run virtual machines or work with large files.
Speed. Match the existing sticks where possible. Mixed speeds work but everything runs at the slowest module’s rate. Also check the maximum your motherboard supports — faster memory than the board can use runs at the board’s limit.
The most reliable approach is a memory configurator on a manufacturer’s website. Enter your exact laptop or motherboard model and it lists compatible parts. This removes essentially all the guesswork.
Buy in matched pairs if you can
Memory runs in channels, and two matched sticks in dual-channel mode deliver considerably more bandwidth than one stick of the same total capacity.
2 × 8GB outperforms 1 × 16GB, sometimes substantially — particularly on machines using integrated graphics, where the graphics performance depends directly on memory bandwidth.
Many budget laptops ship with a single stick to save cost. Adding a second matching one is cheap and effective, and many owners never realise the slot is there.
Where possible buy a matched kit rather than two separate sticks, since kits are tested to work together.
Installing it in a desktop
Before you start: shut down fully, unplug the power cable, and press the power button once to discharge residual current. Work on a hard surface, not a carpet. Touch the metal case frame to discharge static from yourself, and do so again periodically.
Open the side panel, usually two screws at the back.
Find the memory slots, beside the processor. Long, thin slots with clips at one or both ends.
Open the clips by pressing them outward.
Check the slot order. If you are fitting two sticks in a four-slot board, they usually go in alternating slots — typically the second and fourth — for dual channel. The motherboard manual states this, and getting it wrong costs performance without any other symptom.
Align the notch. Each stick has an off-centre notch matching a ridge in the slot. It only fits one way. Do not force it.
Press down firmly and evenly on both ends until the clips snap closed by themselves. This takes more force than people expect — a stick that is not fully seated is the most common cause of a machine that will not start afterwards.
Close up, reconnect, power on.
Installing it in a laptop
More variation between models, so find a teardown guide for your exact machine first.
Shut down, unplug, and remove the battery if it is removable.
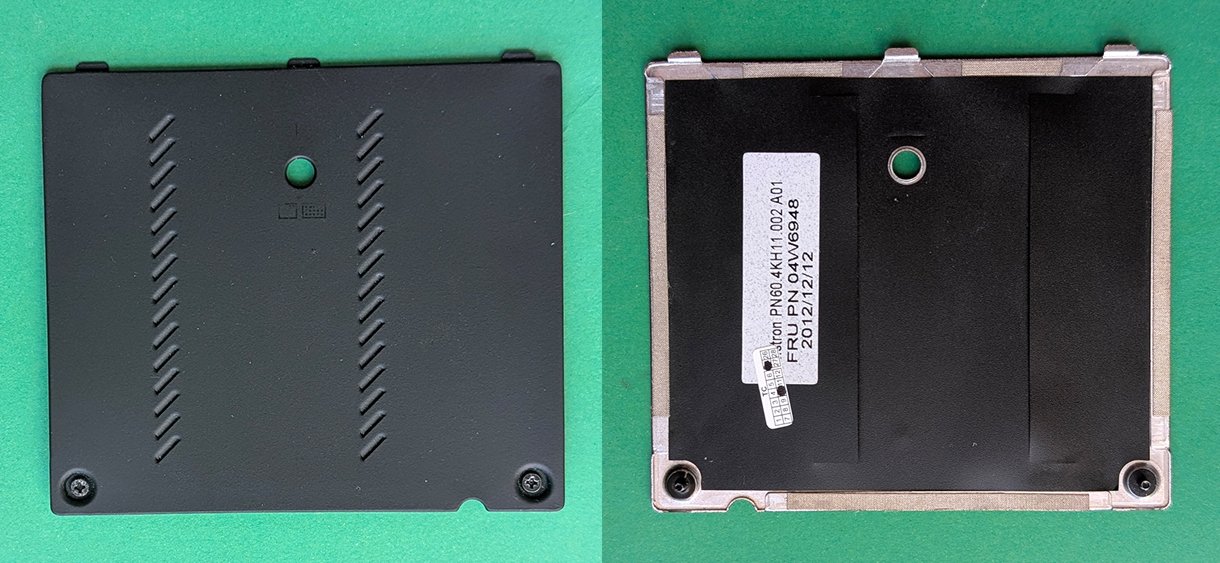
Open the access panel. Some laptops have a small panel over the memory; others require removing the whole bottom cover. Keep track of which screws came from where — they are frequently different lengths.
Discharge static by touching a metal part of the chassis.
The sticks sit at an angle held by clips at the sides. To remove one, push the clips outward and it springs up; then pull it out at that angle.
To fit one, slide it into the slot at roughly a thirty-degree angle, ensuring the notch aligns, then press it down flat until the side clips engage.
Reassemble and power on.
Confirming it worked
Power on and check Task Manager’s Performance tab, or the BIOS. It should report the new total.
If it reports less than expected, the most likely causes are a stick not fully seated, sticks in the wrong slots, or a module the board does not support.
If the machine does not start at all, do not panic. Almost always the memory is not fully seated. Power down, unplug, remove the stick and refit it firmly, listening for both clips.
Run a memory test. Windows includes one — search for “Windows Memory Diagnostic”. Faulty memory causes intermittent crashes that are miserable to diagnose later, so it is worth confirming now. MemTest86 is a more thorough free alternative.
Enable the speed profile. Desktop memory sold at a rated speed frequently runs slower by default. Enter the BIOS and enable XMP (Intel) or EXPO (AMD) to run it at the speed you paid for. A great many people never do this.
Buying safely
Counterfeit and relabelled memory circulates, and it causes exactly the intermittent instability that is hardest to trace. Buy from a seller you can return to, be sceptical of prices far below the market, and test with a memory diagnostic before assuming everything is fine.
Keep the packaging until you have confirmed the machine is stable for a week.
The short version
Check Task Manager first to confirm memory is actually your bottleneck rather than storage. Then check whether your machine has free slots, occupied slots, or soldered memory that cannot be changed.
Match generation, form factor and speed, use a manufacturer’s compatibility tool, and buy two matched sticks rather than one — dual channel is free performance that many people leave on the table.
Discharge static, align the notch, press until the clips close by themselves, then verify the total and run a memory test. If it will not boot, the stick is not seated properly; that is nearly always the answer.
Sources and verification
We checked the practical guidance on this page against the primary or authoritative references below. Follow the linked source for the latest official position before making a payment or time-sensitive decision.
Cores, threads, clock speed, cache. Here is what a CPU actually does, what the specifications mean in practice, and which numbers matter when you are buying a phone or laptop.
A home network is a router, some cables and some Wi-Fi. Here is how to set it up properly, position it for real coverage, secure it, and fix the dead spots.
You can password protect a PDF without paying for software. Here are the free methods on Windows, Mac, phone and online, and which ones are actually secure.
iPhone storage full? Here is where the space actually goes, the methods that reclaim the most, and how to stop it filling up again — without deleting your photos.
Factory resetting Windows 11 fixes problems a clean-up cannot. Here is every reset option explained, what each one keeps, and how to do it without losing anything.